Hand dyed wool tops! (EN)
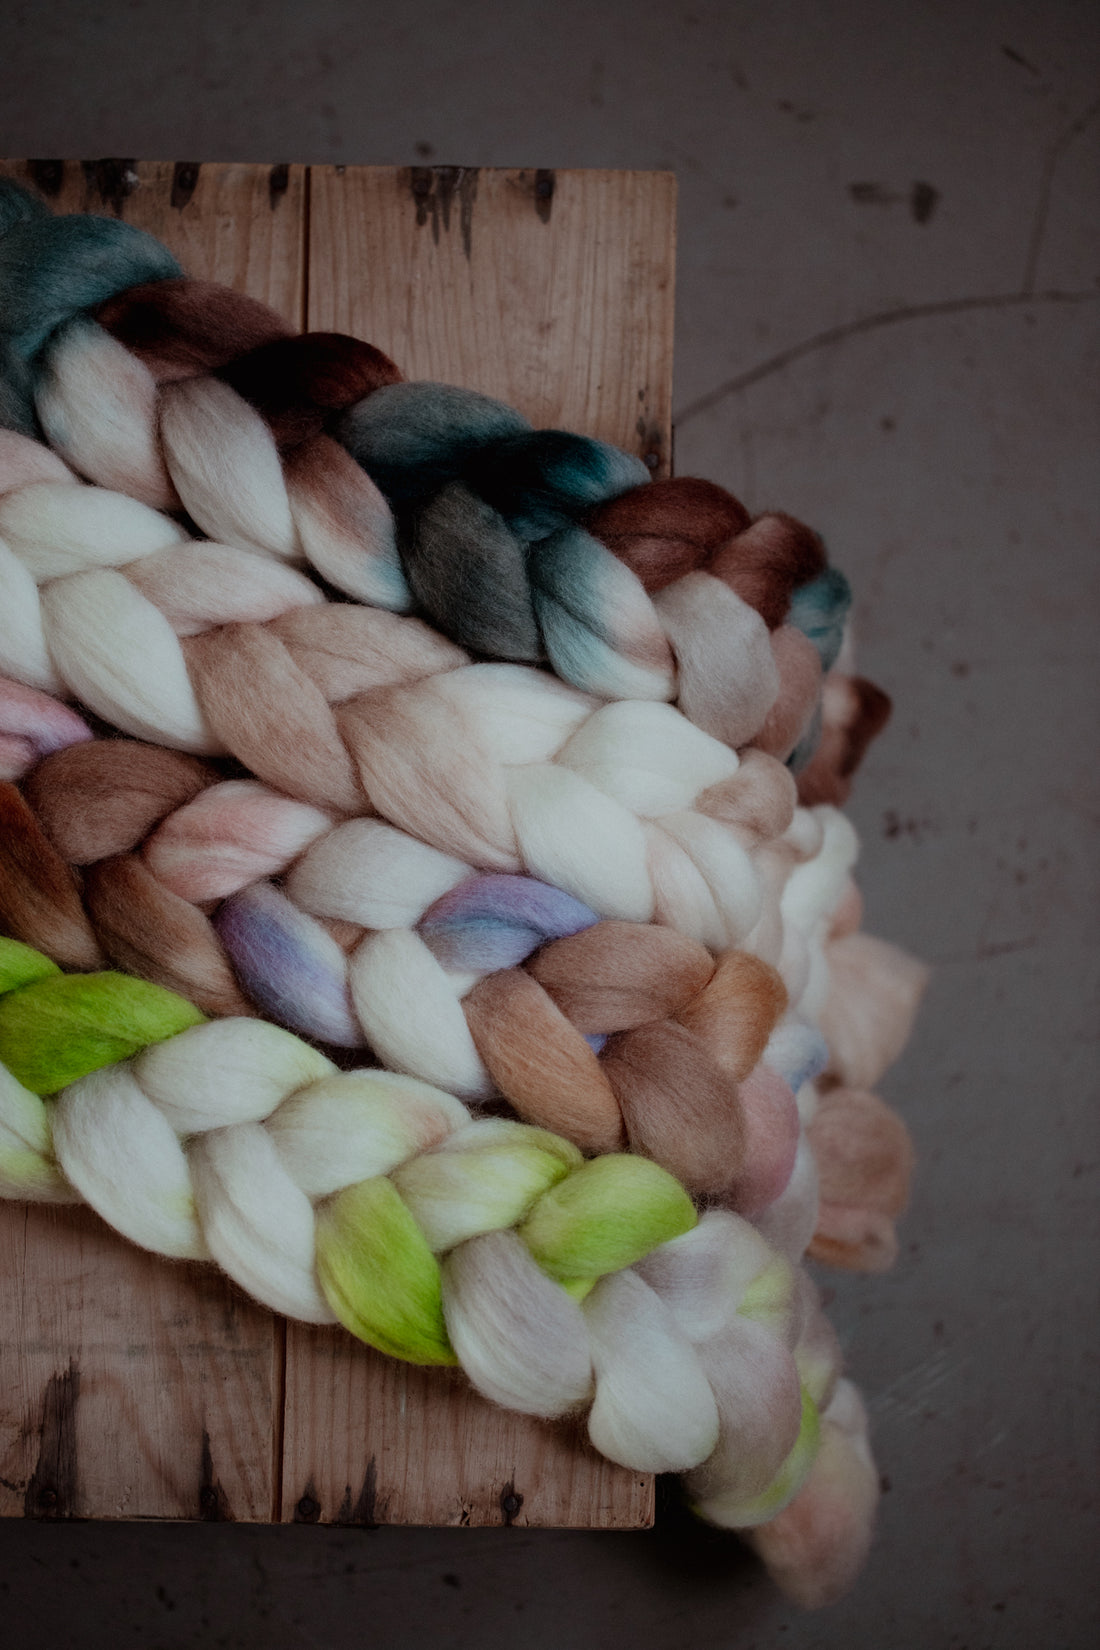
As I'm expanding my Sägen dye practice to also include wool tops, I wanted to gather some useful tips and information on hand spinning this specific type of wool. No matter if you use a drop spindle, a supported spindle or any kind of spinning wheel, there are a few things that make hand spinning more fun and easier!

When you receive your wool top, the fibres have been squished together during shipping. Drafting and spinning compacted fibres isn't super easy (and not very fun!) so there are a couple of ways around this.
- Steaming: You can steam the whole braid or part of it either using a steamer or steam iron (don't push the iron down onto the fibre though). You can also put the braid in a basket or an old colander (not used for food) and let it rest on top of some boiling water. The steam will loosen the fibres up, making it much easier to draft and spin!
- Splitting: Splitting the braid in thinner strips is another great way of making it easier to spin.
- Tease and whip (from School of Sweet Georgia): Gently open the width of the braid up with your fingers. Once you've opened some 30 cm / a foot, grab the ends and whip them sharply (but not so hard you break them!), so that air can get in between the fibres.
If you're new to hand spinning, predrafting can be very helpful! This means you gently pull on the braid with your hands longer apart than the staple length of the fibre you're using. It's not an exact measurement - you'll know when because it's impossible to pull the fibres apart if you're holding on to both ends. Pull gently so the fibres start to move, but not so much that they break. If they do break, don't sweat! You can simply put them back together when your spinning.

Plying two strands of yarn can change the look drastically! Above is a bobbin with a freshly spun thread, a single-ply if that's what you're after. The colours come in a specific order, one after the other, shifting gradually from one to the next. If you spin two strands like this, you can ply them together, and then it looks like this instead:

As you can see, the result is a calmer yarn with a soft blend of colours. This was spun in my current favourite way, using a fractal spin. This means that one strand has longer sections of each colour, while the other has shorter sections. Even if they're spun from the same top, the colours go in and out of each other, creating this lovely shifting yarn.
To do a fractal spin, all you need to do it split your braid in two different ways. First, split it lengthwise down the middle. This is often pretty easy as the wool top naturally wants to open there. Spin one half as it is, right across the top, from start to finish.
Before you start spinning the other half, split it again into several smaller strips. I normally split mine 2-4 times depending on the number of colours and what kind of look I want the yarn to have. It looks like this:

The part on the right is half the braid, and the three smaller slivers on the left are the second half split in three. When you spin the first half, there are a lot of fibre in each colour, making the shifts slower. And when you spin the thinner strips, the colours change much faster since there isn't as much fibre in each colour section.
Once plied and finished, it looks like this:

Pretty neat, isn't it! If we take a closer look at another colourway, we can see how the colours combine.

Herre is the colourway The Selkie Song fractal spun. One part of the yarn is white+white, another part is white+blue, and the left hand side is what blue+blue looks like. The shift won't go from one end to the other in the yarn though, but rather be mixed along all the meters you've spun, like this:

When you knit, weave or crochet with this, the colours will flow gently in and out of each other, and it's just super pretty.
I hope this little intro sparks your spinning enthusiasm! The hand dyed wool tops will be released on Friday, April 12, along with some really nice spinning accessories from Kromski.